| DMF |
010202 PROSPECTING OPPORTUNITIES MODIFY |
Click on Header from the tabs to display header information and the pane used to manage various information about the opportunity (quick accesses, linked documents, etc.).
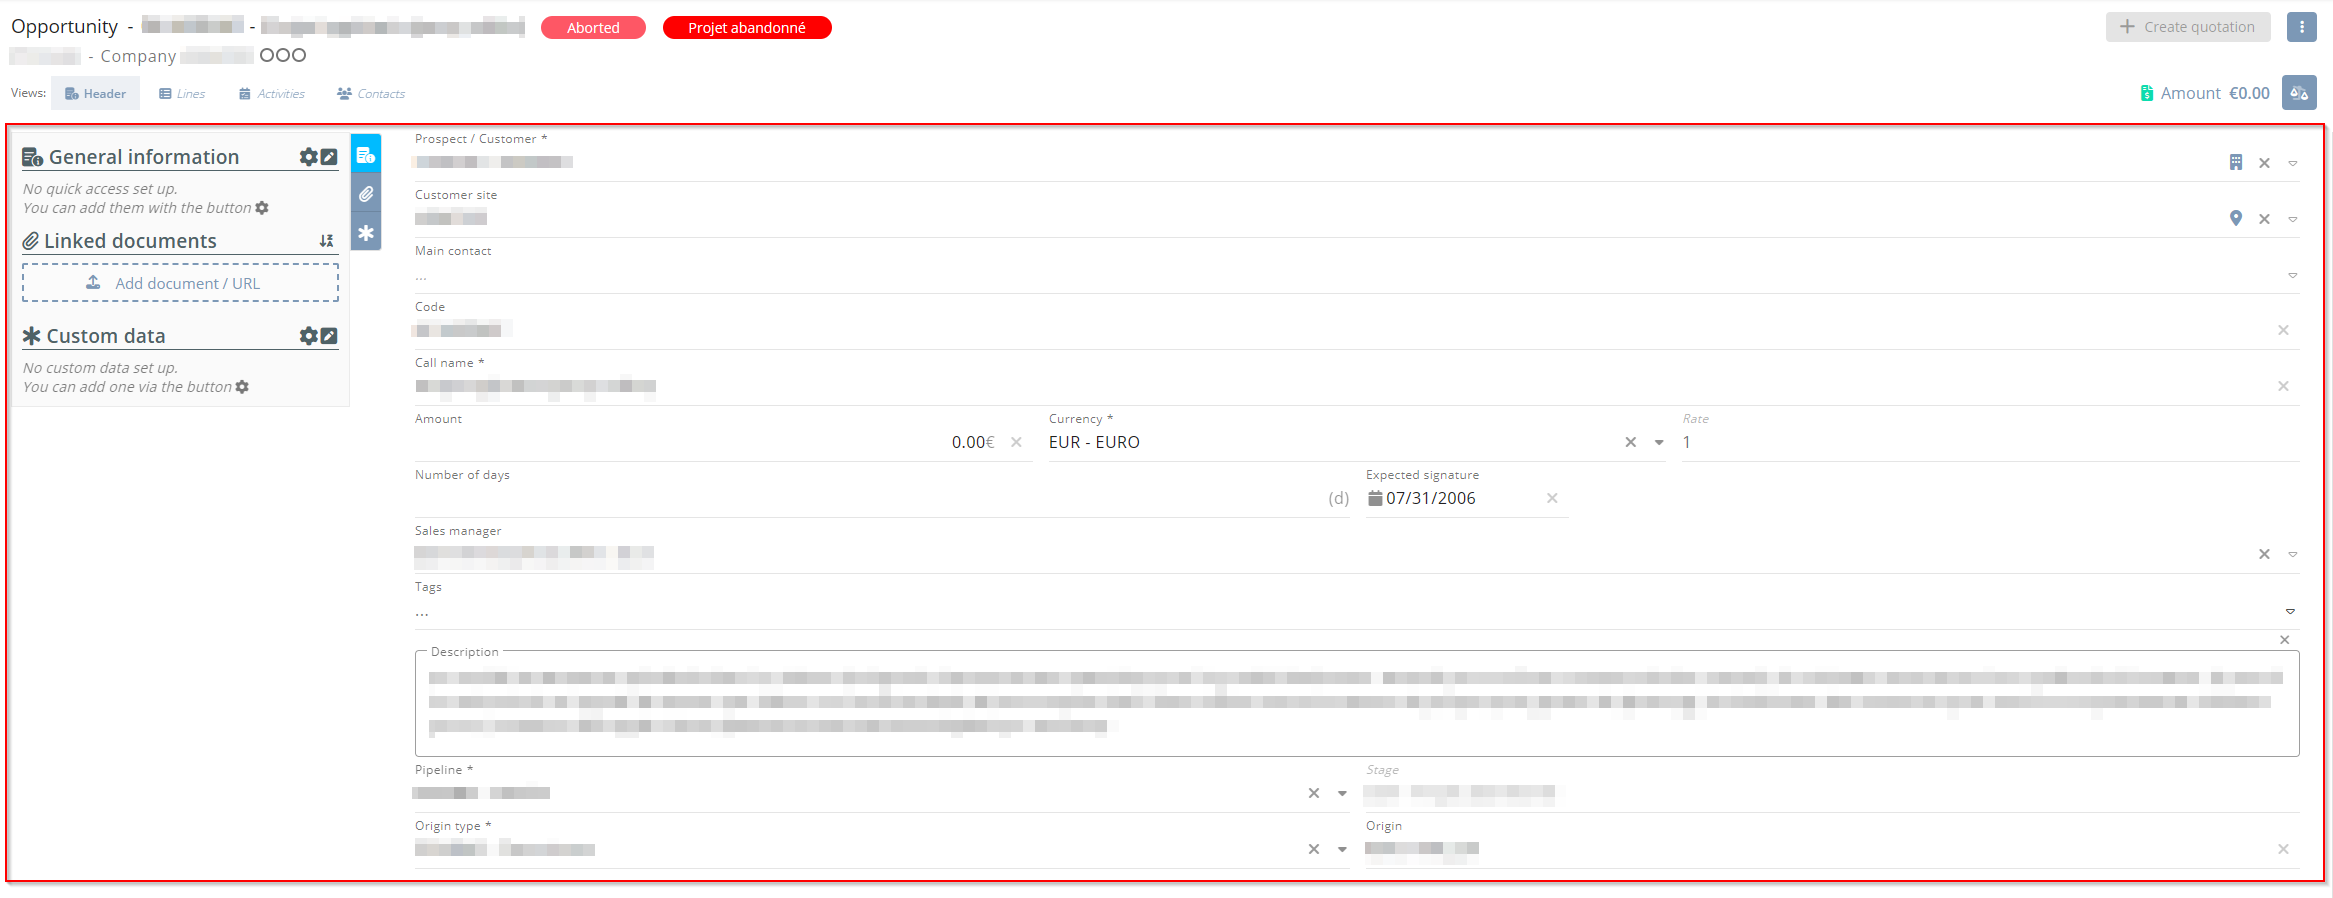
The Header tab is used to access and modify the following information:
| Field | Description |
|---|---|
| Prospect / Customer |
The customer or prospect of the opportunity is specified when creating the opportunity (see Creating opportunities). Click on Note Blocking rules can be defined from the customer record sheet in order to restrict creating and modifying objects on this customer. For more information, refer to Setting up blocking rules. |
| Customer site |
The customer or prospect site is specified when creating the opportunity (see Creating opportunities). Click on |
| Main contact |
The main contact is specified when creating the opportunity (see Creating opportunities). A user with the DMF 160402 TOOLS CONTACTS NEW can directly create a contact from this empty field. To create a new contact, specify the last name then first name and click on Reference For more information about creating a main contact, refer to Creating a main contact from an opportunity. When the main contact is specified, click on |
| Code | The code is specified when creating the opportunity (see Creating opportunities). |
| Call name | The call name is specified when creating the opportunity (see Creating opportunities). |
| Amount | The amount is specified when creating the opportunity (see Creating opportunities). |
| Currency and Rate | The currency and rate are specified when creating the opportunity (see Creating opportunities). |
| No. Days | The number of days is specified when creating the opportunity (see Creating opportunities). |
| Expected signature date | The expected signature date is specified when creating the opportunity (see Creating opportunities). |
| Sales manager | The employee in charge of the opportunity is specified when creating the opportunity (see Creating opportunities). |
| Tags | The tags are specified when creating the opportunity (see Creating opportunities). |
| Description | The description is specified when creating the opportunity (see Creating opportunities). |
| Pipeline | The pipeline is specified when creating the opportunity (see Creating opportunities). |
| Stage |
The stage is specified when creating the opportunity (see Creating opportunities). To modify the stage, click on Reference To define the required fields for each stage, refer to Defining required fields for opportunity stages. |
| Origin type | The origin type specified when creating the opportunity (see Creating opportunities). |
| Source | The source is specified when creating the opportunity (see Creating opportunities). |
 to open the customer or prospect record sheet in a new tab.
 to open Google Maps in a new tab.
 on the right of the field.
 to open the contact record sheet in a new tab. This feature requires the DMF 160405 TOOLS CONTACTS SEARCH.
 and select the desired stage from the list. This feature requires the DMF 010202 PROSPECTING OPPORTUNITIES MODIFY. Depending on the required fields set up for stages, a window opens after selecting the stage in order to specify the fields required for the change of stage.
From the pane of the Header tab of an opportunity, The My quick accesses section allows you to add quick-access fields related to the opportunity's general information and custom data for faster access. From that section, a window can be opened to access all general information and custom data of the opportunity.
Fields in quick acces
Click on  at the right of the My quick accesses section from the pane in order to set up the fields to display in quick access. Fields in quick access are specific to each user. From the setup window:
- On the left, the list displays fields and custom data available to be added in quick access.
- On the right, the list displays fields and custom data in quick access. Select a field from the list then drag and drop it to modify the order of the fields.
Drag and drop a field from one list to the other to add it in quick access or remove it from quick access. Click on the  or
or  icons to add or remove all fields at once.
Separators can be added in order to split quick accesses in separate sections. To add a separator, drag and drop the Title / Separator field from the left list to the desired location in the list on the right. A label can be specified in order to define a title for the separator. If the label is not specified, the separator will be displayed without a title.
Click on Apply to take into account the modifications.
Custom data
Click on  at the right of My quick accesses section from the pane to display custom data of the object in a specific window. Depending on custom data setup, the window contains one or more tabs/sections/fields.
Reference
For more information about custom data setup, refer to Custom data.
Modify the desired data then click on Validate.
General information
Click on  at the right of My quick accesses section from the pane to display all general information of the object in a specific window.
Make necessary modifications and click on Validate.
The following information can be displayed and/or modified:
| Field | Description |
|---|---|
| Label | Label of the opportunity. |
| End customer | End customer of the opportunity. |
| Probability and Weighted |
Probability of a signature from the customer. The Weighted coef. is updated automatically based on the selected Probability. The coefficient is based on a scale of 0 to 1: 0 corresponding to an unlikely signature and 1 corresponding to a likely signature (see Weighting coefficients). |
| Strategic | Check this box to indicate that the opportunity presents a strategic interest. |
| Weighted amount |
Weighted amount of the opportunity depending on the probability applied to the opportunity and its weighting percentage. This information is only for informational purposes. |
| Weighted number of days |
Number of weighted days of the opportunity. This information is only for informational purposes. |
| Year |
Year to link to the opportunity. The drop-down list displays set up years for the connection and ***** company (see Years). |
| Opening date | Opening date of the opportunity. |
| Start of production | Start of production date. |
| End of production | End of production date. |
| Entity, Department and Activity |
Entity, department and activity to link to the opportunity. Drop-down lists display the entities, departments and activities set up for the connection and ***** company (see Entity, Department and Activity). |
| Project family |
Project family to link to the opportunity. This field can automatically be specified if the Project sub-family field is specified and if there is a link between them, which means, if the Main project family is specified in its set up. The drop-down list display the project families set up for the connection and ***** company and for which the Project type matches the customer type or all types (see Project families). |
| Project sub-family |
Project sub-family to link to the opportunity. When the Project family field is specified, only the project sub-families for which the Main project family field is specified with the project family selected or without project families are displayed. This field can automatically be specified if the Sub-family 2 field is specified and if there is a link between them, which means, if the Project sub-family is specified in its set up. The drop-down list display the project sub-families set up for the connection and ***** company and for which the Project type matches the customer type or all types (see Project sub-families). |
| Sub-family 2 |
Sub-family 2 to link to the opportunity. When the Project sub-family is specified, only the sub-families 2 for which the Project sub-family field is specified with the project sub-family selected or without any project sub-family are displayed. The drop-down list display the sub-families 2 set up for the connection and ***** company and for which the Project type matches the customer type or all types (see Project sub-families). |
| Production manager, Financial manager and Project manager |
Production manager, financial manager and project manager to link to the opportunity. Drop-down lists display employees present at the company on today's date. |
| DMF |
1001** OFFICE AUTOMATION WRITE WRITE 100107 OFFICE AUTOMATION WRITE NEW DOCUMENT (OR DRAG&DROP) or 100108 OFFICE AUTOMATION WRITE NEW DOCUMENT 100109 OFFICE AUTOMATION WRITE MODIFY DOCUMENT 100110 OFFICE AUTOMATION WRITE DELETE DOCUMENT |
From the pane of the Header tab of an opportunity, the Linked documents section contains the documents linked to the opportunity, for example a report or a link to a help desk issue. Click on the name of the document to open its preview, or hover over the name of a document to display its details (creation date, last modification date, users who created and last modified the document, etc.).
To add a document:
- Click on the Add document / URL frame then select the document from the file browser.
- Drag and drop the document in the Add document / URL frame. This feature requires the DMF 100107 OFFICE AUTOMATION WRITE NEW DOCUMENT (OR DRAG&DROP).
Quick actions available from the Linked documents
When a document is added to a management object, the following features are available from  on the right of the document:
From the Linked documents section, you can realize several actions:
- To download a document, click on then on Download. This action allows you to download the document on the computer. This option is only available if the document is not a hypertext link. The document can also be downloaded directly by clicking on the name of the document if it is not an image, a PDF or a hypertext link.
- To open a link, click on then on Open link. This action allows you to open a hypertext link in a new tab. This option is only available if the document is a hypertext link.
- To unlink a document, click on then on Unlink. This action allows you to remove the document. The document is no longer linked to the management object but the document's record sheet associated is kept in Akuiteo.
- To delete a document, click on then on Delete. The document record sheet associated is also deleted from Akuiteo.
Actions available from the Show details function
When a document is added to a management object, the Show details function is accessible under the list of documents linked to the quotation. The table which opens allows you to obtain more information on the document and the following actions are available in the Actions column:
- To visualize a document, click on
 . This action allows you to visualize a document before downloading it on the computer. This option is only available if the document is an image, a .txt file or a PDF document.
 - To download a document, click on
 . This action allows you to download the document on the computer. This option is only available if the document is not a hypertext link. The document can also be downloaded directly by clicking on the name of the document if it is not an image, a PDF or a hypertext link.
 - To open a link, click on
 ; This action allows you to open the URL in a new tab in the browser. This option is only available if the document is a hypertext link.
 - To delete a document, click on then on Delete document. This action allows you to delete the document. The document record sheet associated is also deleted from Akuiteo.
- To lock or unlock a document, click on then on Lock/Unlock. This action allows you to lock or unlock a document. This option is only available if the document is not a hypertext link. When a document is locked, the
 icon is displayed on the document record sheet in the Desktop Application.
 - To file a document, click on then on Filed under. This action allows you to specify one or several keywords linked to the document. From the documents search screen (Desktop Application > Tools > Documents), a user can specify the keywords in the Filed under field in order to easily find the relevant document.
- To archive or de-archive a document, click on then on Archive/De-archive. This action allows you to archive or de-archive the document.


