Click on Activities from the tabs to display actions and/or display the history of the opportunity.
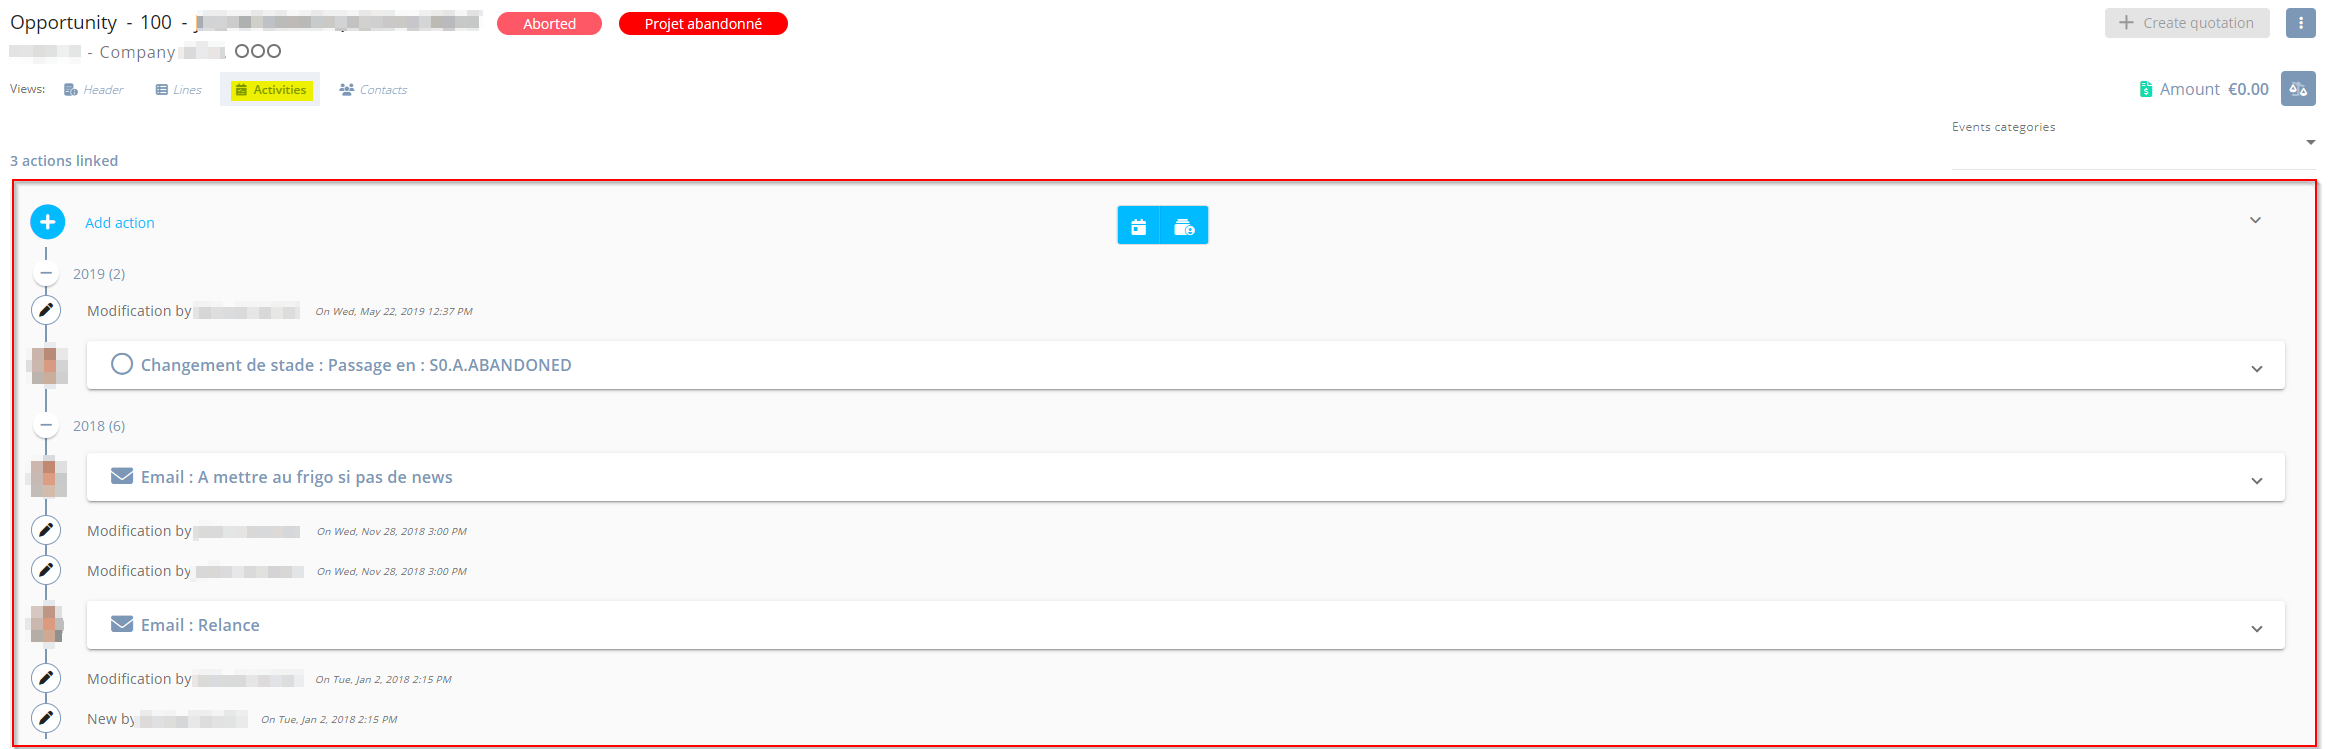
From the Actions tab, the following icons are used to manage the display of activities:
-
 to display or hide actions;
 -
 to display or hide the history.
Note
If no action has been added to the opportunity, the icons are not displayed and only the history is displayed.
The Actions categories field allows you to filter the actions of the opportunity to display according to actions categories.
| DMF | 160101 TOOLS EVENTS NEW |
Prerequisite: the Can be created in the CRM web portal box must be checked in the event categories setup (Tools > Setup > General setup > Cross-cutting > Event categories then Event category tab > CRM Web Portal section).
| 1 | From the Activities tab, click on Add action. |
| 2 | Select from the drop-down list the action category to create. |
 The action creation form opens.
| 3 | Specify the action information. |
Reference
For more information about the action fields, refer to Creating actions.
| 4 | Click on Save. |
The action is created. It is visible in the Activities tab of the opportunity.
Note
If custom data are set up for the created action category, these data are to be specified when modifying the action (see Modifying actions).
| DMF | 160104 TOOLS EVENTS SEARCH |
An action displayed in the Activities tab can be opened by clicking on  to the right of the action. The action form opens on the right of the screen.
| DMF | 160102 TOOLS EVENTS MODIFY |
| 1 | From the Activities tab, click on to the right of the action. |
| 2 | Modify the desired information. |
| 3 | Click on Save. |
The line is modified.
| DMF | 160102 TOOLS EVENTS MODIFY |
Third-parties can be linked, contacted and unlinked from the Linked third-parties section of an action.
Reference
For more information about the actions available in the Linked third-parties section, see Managing third-parties linked to the action.
| DMF | 160102 TOOLS EVENTS MODIFY |
Important
This feature requires enabling the feature flag Transverse domain > Adoption Crm label.
Objects can be linked and unlinked from the Linked objects section of an action.
Reference
For more information about the actions available in the Linked objects section, see Managing linked objects to an action.
| DMF | 160108 TOOLS EVENTS COMPLETE |
An action can be marked as completed in order to indicate that it has been done.
From the Activities tab, pull down the action desired and check the Completed box.
| DMF | 160103 TOOLS EVENTS DELETE |
Important
Deleting an action cannot be reversed.
From the Activities tab, open the form of an action then click on Delete at the bottom of the form and confirm the deletion.


